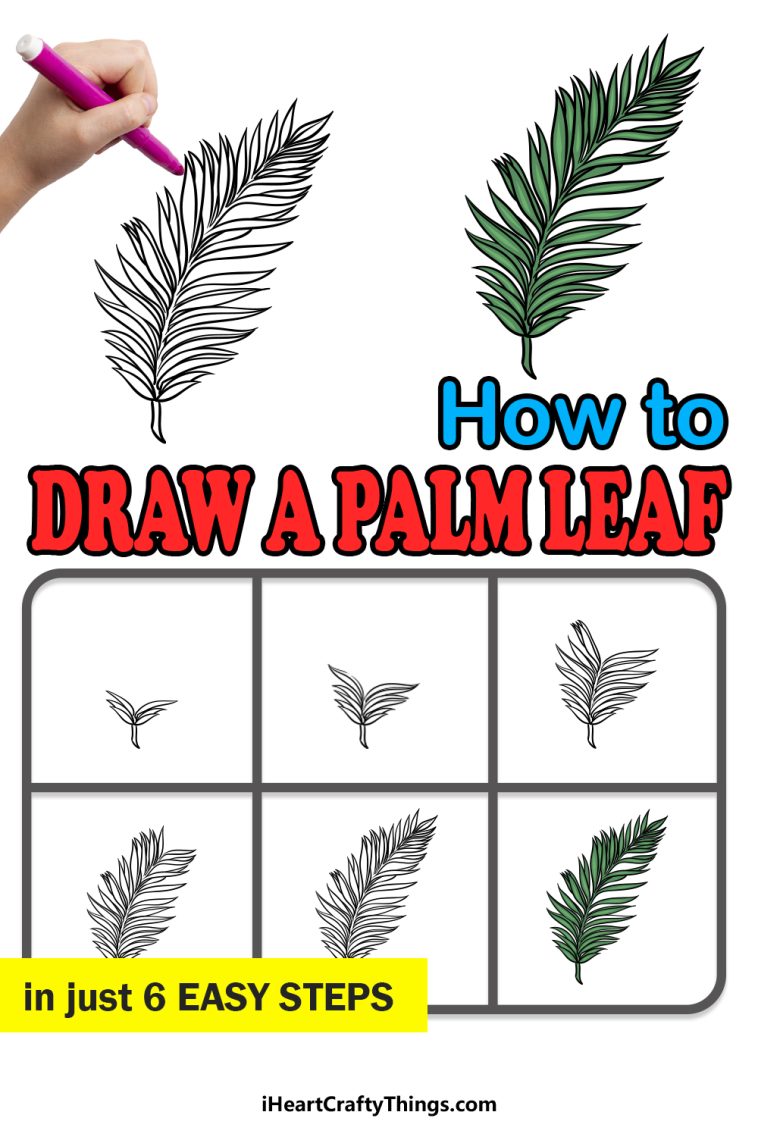
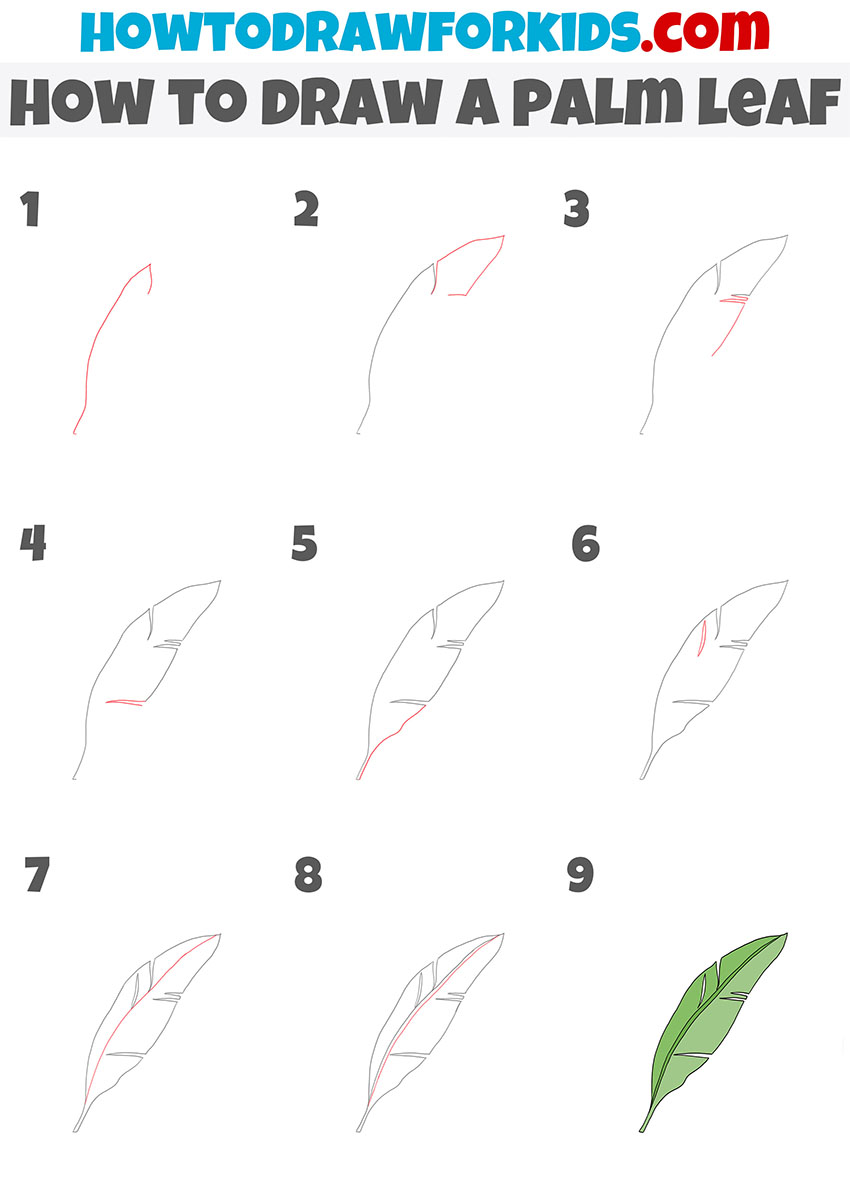
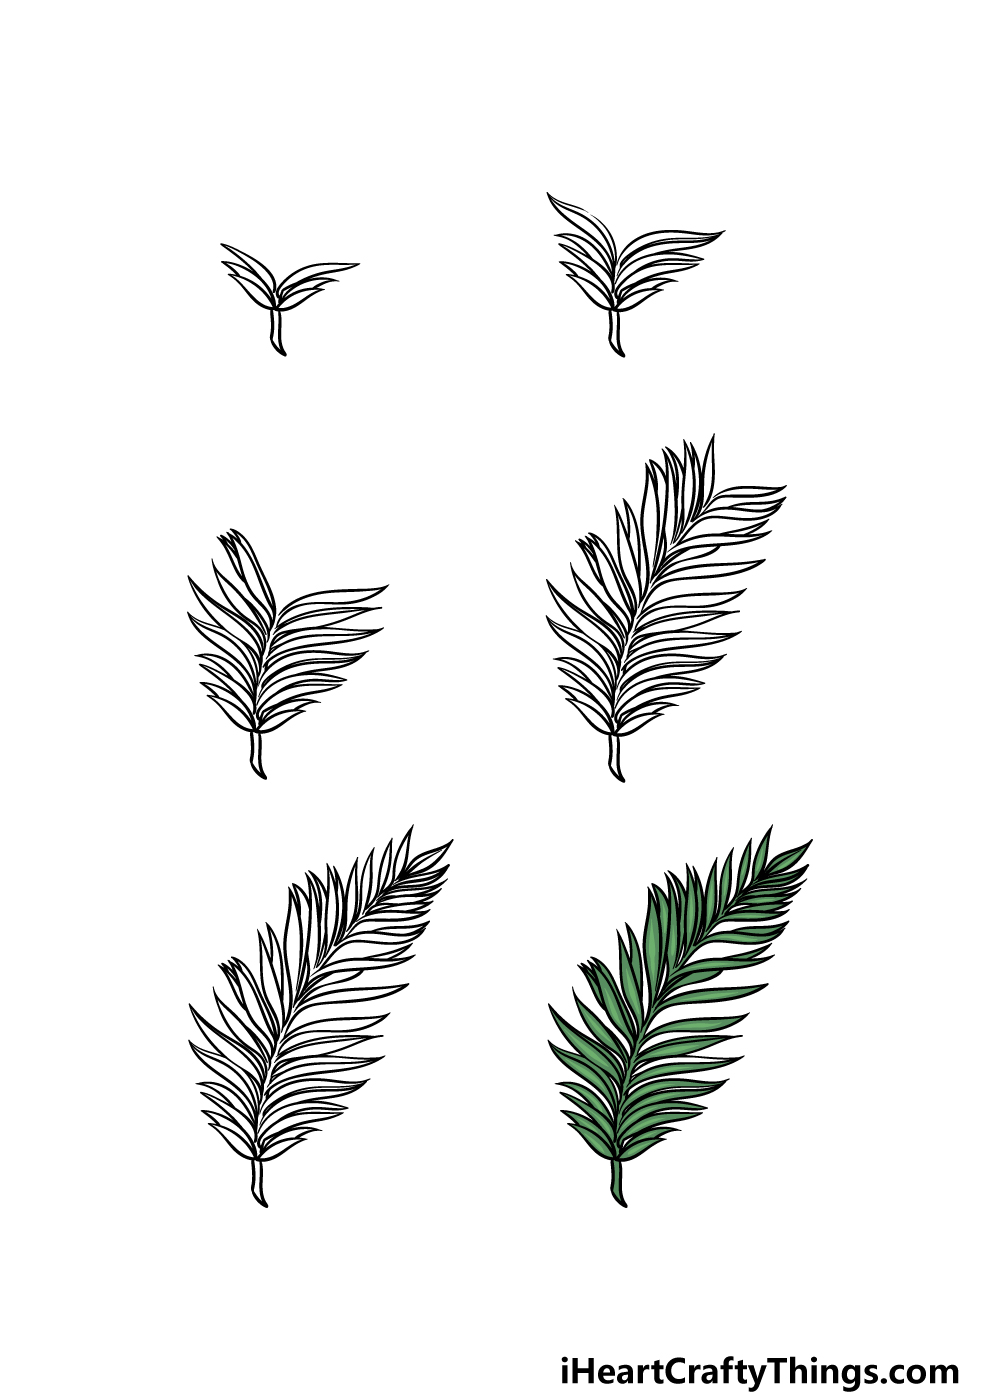
How To Draw A Palm Leaf
How To Draw A Palm Leaf - These lines form the trunk of the palm tree. Sketch out the vein on the leaf. The trunk of the palm tree and the tree in general are tall skinny trees. Erase the openings of the v shapes; Next, add another curved line on top of the first for the tip of the leaf. Connect those lines in the middle. Instead, each leaf will actually get a little bit longer as you go along. This can be done by drawing two long curved lines on the left side and two long curved lines on the right side. This makes your palm tree sketch more believable and realistic. Web the stem is the support for your palm leaf. Draw the sides of each leaf as shown. Try your best to draw the same shape of the trunk like you did in step 1, for the trunk’s right side and make sure to taper it, making the trunk wider at the bottom. Connect the edge of one of the previously drawn lines with the short line drawn in the first step. Trace with a marker and color. Add another crack on the leaf. This can be done by drawing two long curved lines on the left side and two long curved lines on the right side. Next, add the outer edges to your palm leaves. Some leaves may overlap the trunk to make the drawing more realistic. Palm leaves drawing step by step. Start the palm tree drawing with an outlines of it’s leaves. Draw the rest of the palm tree’s trunk. Start with palm trees outline. Plan the leaves with 6 curved lines; Draw the coconuts, ocean and clouds. Draw a curved tree trunk. Web follow along with us and learn how to draw a palm leaf!join our monthly membership and download our app! Draw one long, curved line along the leaf you have. Add a line to thicken the spines. Erase the openings of the v shapes. Web let's draw with me a palm leaf and learn how to draw easter drawings! This is a list of the supplies we used, but feel free to use whatever you have in your home or classroom. Finally draw the last leaf at the very back. These roughly follow the direction laid out by the centre line. Erase the openings of the v shapes; Sharpie (or something to draw with) paper (we use marker paper). This is a list of the supplies we used, but feel free to use whatever you have in your home or classroom. Remember, a rachis is rigid but curved, and the leaves should be facing in different directions. Make sure that the distance between the lines is narrow and becomes more so as it reaches. Plan the leaves with 6. Begin by drawing two long, curved lines, parallel to one another. Lightly draw a straight line upwards of the height you would like your palm tree to be. Sketch out the vein on the leaf. Have it meet the other line, at the end, forming a. Draw a curved tree trunk. Start with palm trees outline. Right on top of your mound of sand, you will place the trunk of your palm tree. Draw the coconuts, ocean and clouds. Inside the previously drawn shape, depict one small shape using two curved lines. The trunk of the palm tree and the tree in general are tall skinny trees. Add a line to thicken the spines. Make sure the lines are a bit closer together at the top than at the bottom. Remember, a rachis is rigid but curved, and the leaves should be facing in different directions. This is a list of the supplies we used, but feel free to use whatever you have in your home or. Easy step by step instructions help you t. These roughly follow the direction laid out by the centre line. Erase the openings of the v shapes; Start the top of the trunk on either side of the coconuts, then draw a vertical line down with a slight curve. Draw the sides of each leaf as shown; The leaves are arranged in a spiral at the top of the trunk. Web finish drawing the outline of the palm tree leaf. Start the palm tree drawing with an outlines of it’s leaves. Draw two vertical lines extending from the center of your sand mound. First draw the leaves that are facing towards the front. It's very easy art tutorial, only follow me step by step, if you need more time, you c. Web the stem is the support for your palm leaf. Remember, a rachis is rigid but curved, and the leaves should be facing in different directions. Web how to draw a palm tree. Lightly draw a straight line upwards of the height. The palm leaf shape again starts out narrow near the trunk and widens out, with the widest part being around three quarters down the length of the leaf. Lightly draw a straight line upwards of the height you would like your palm tree to be. Instead, each leaf will actually get a little bit longer as you go along. Finally draw the last leaf at the very back. You drew the first leaves for this palm leaf drawing in the first step, and now we shall draw the next few. Connect the edge of one of the previously drawn lines with the short line drawn in the first step. The trunk of the palm tree and the tree in general are tall skinny trees. This is a list of the supplies we used, but feel free to use whatever you have in your home or classroom. Palm leaves drawing step by step. Start with palm trees outline. Next, add another curved line on top of the first for the tip of the leaf. Finally, add several small lines along the length of the leaf for the veins. Draw the sides of each leaf as shown. Web how to draw a palm tree. Plan the leaves with 6 curved lines. Draw the coconuts, ocean, and clouds;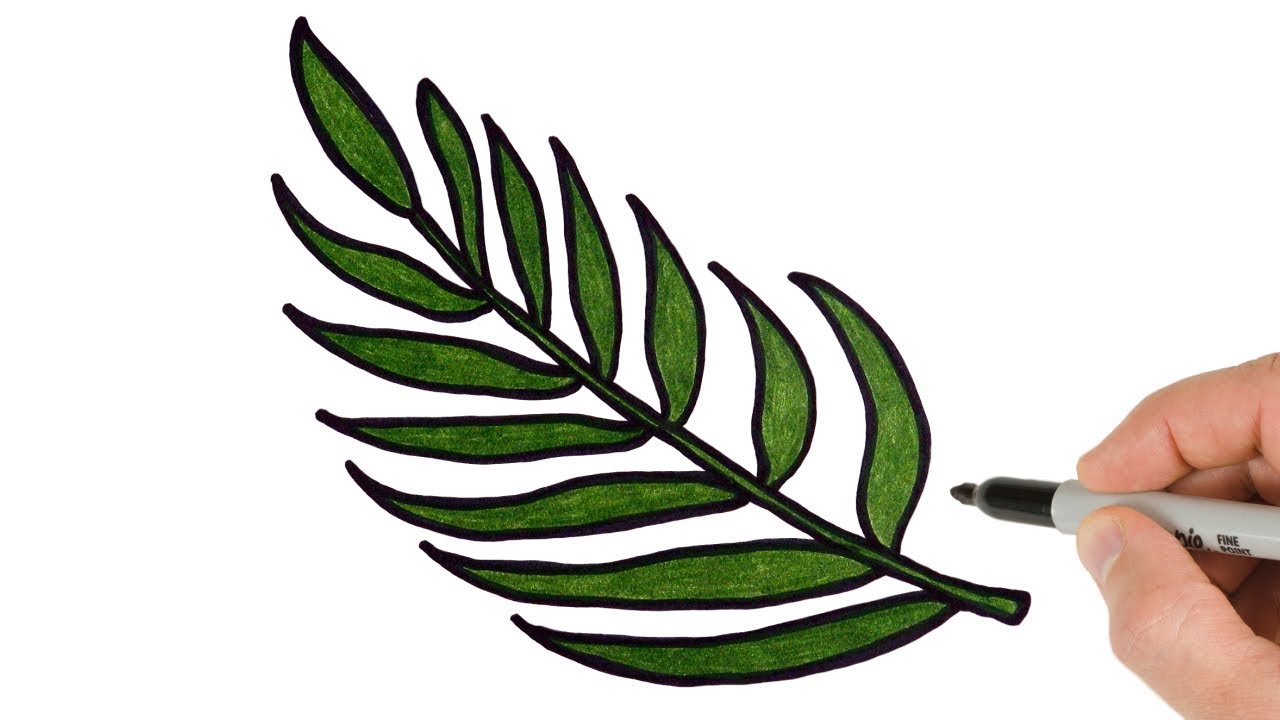
How to Draw Palm Tree Leaf Easy StayHome and draw WithMe YouTube

How to draw a Palm leaf easy drawing with pen YouTube
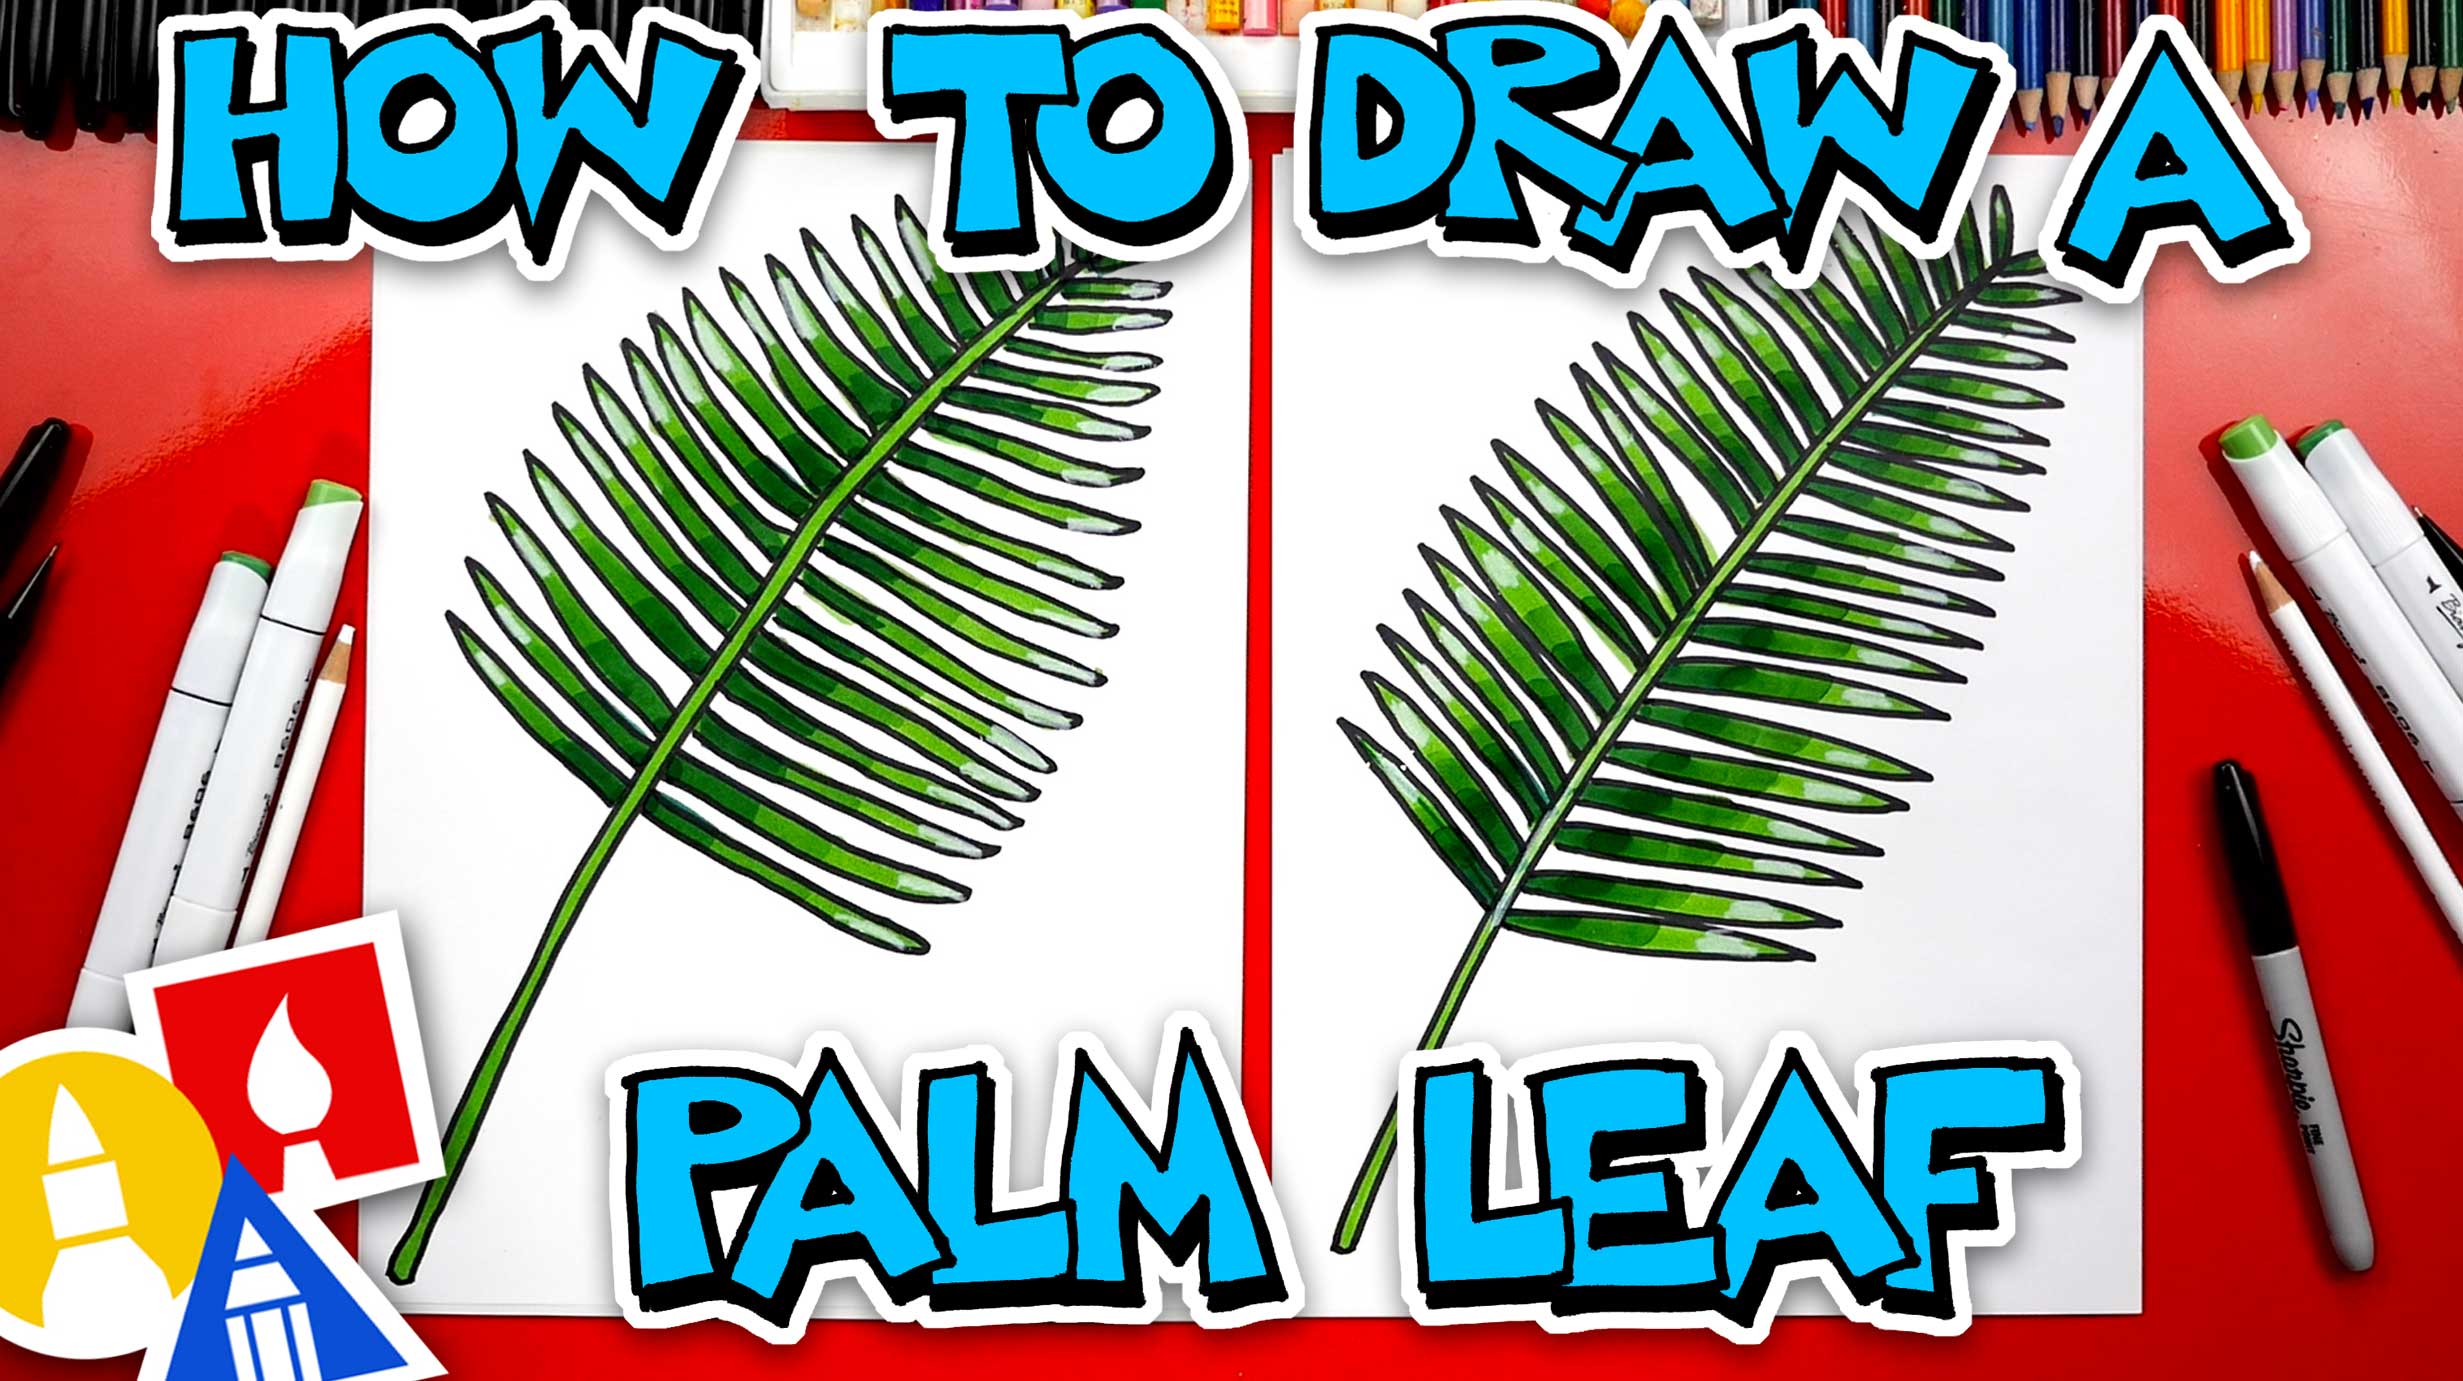
How To Draw A Palm Leaf Art For Kids Hub
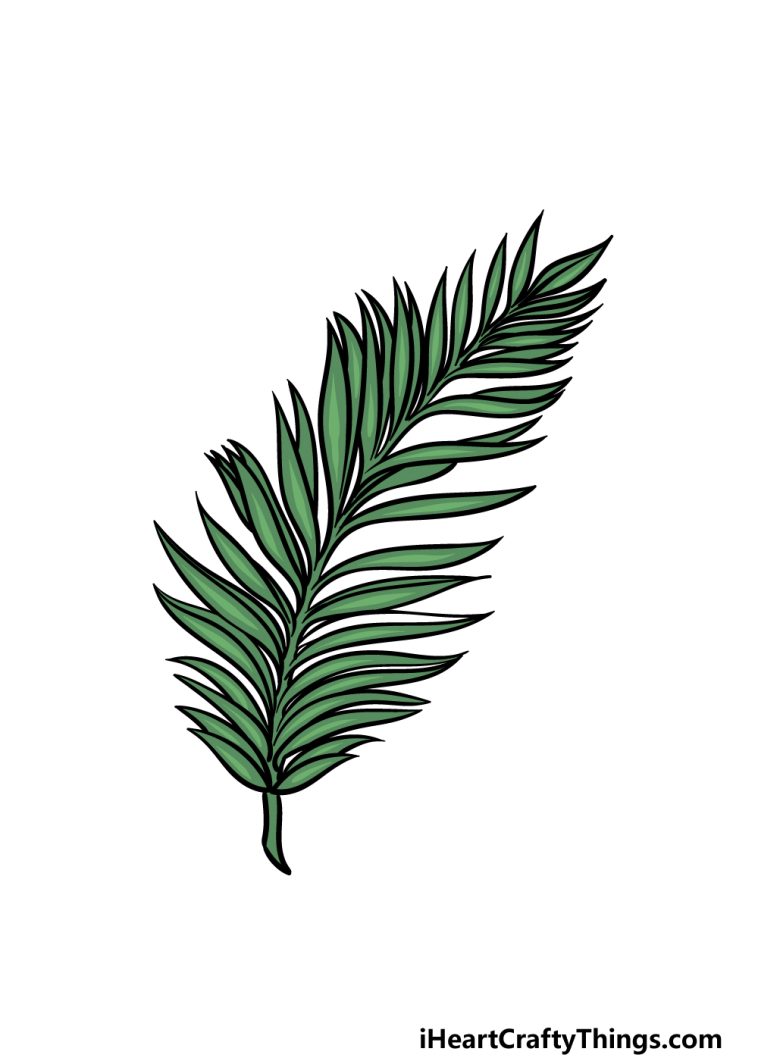
Palm Leaf Drawing How To Draw A Palm Leaf Step By Step
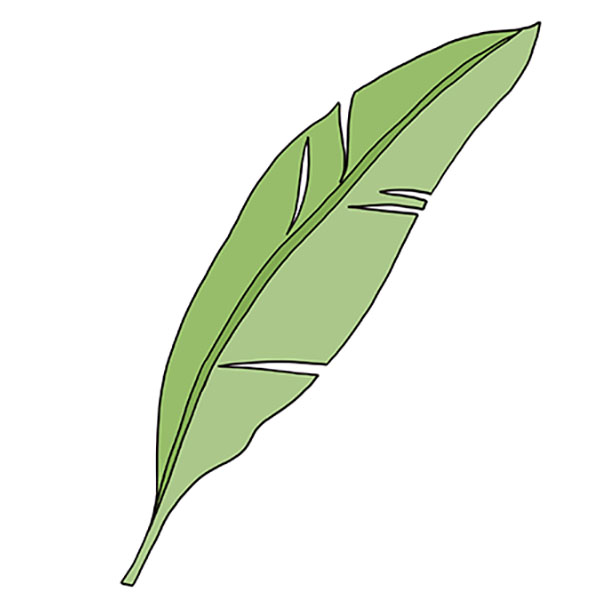
How to Draw a Palm Leaf Easy Drawing Tutorial For Kids
Palm Leaf Drawing How To Draw A Palm Leaf Step By Step
How to Draw a Palm Leaf Easy Drawing Tutorial For Kids
Palm Leaf Drawing How To Draw A Palm Leaf Step By Step (2023)

How to Draw a Palm Tree

How to Draw A Palm Tree Leaves Step by Step
Draw The V Shapes In The Leaves;
Make Sure That The Distance Between The Lines Is Narrow And Becomes More So As It Reaches.
Draw Two Vertical Lines Extending From The Center Of Your Sand Mound.
Web Follow Along With Us And Learn How To Draw A Palm Leaf!Join Our Monthly Membership And Download Our App!
Related Post: